هذا المقال متاح بالإنجليزية فقط حاليًا.
Paver Restoration Before and After: What Actually Changes
 CSI Elite Services
31 أكتوبر 2026 · قراءة 2 دقيقة
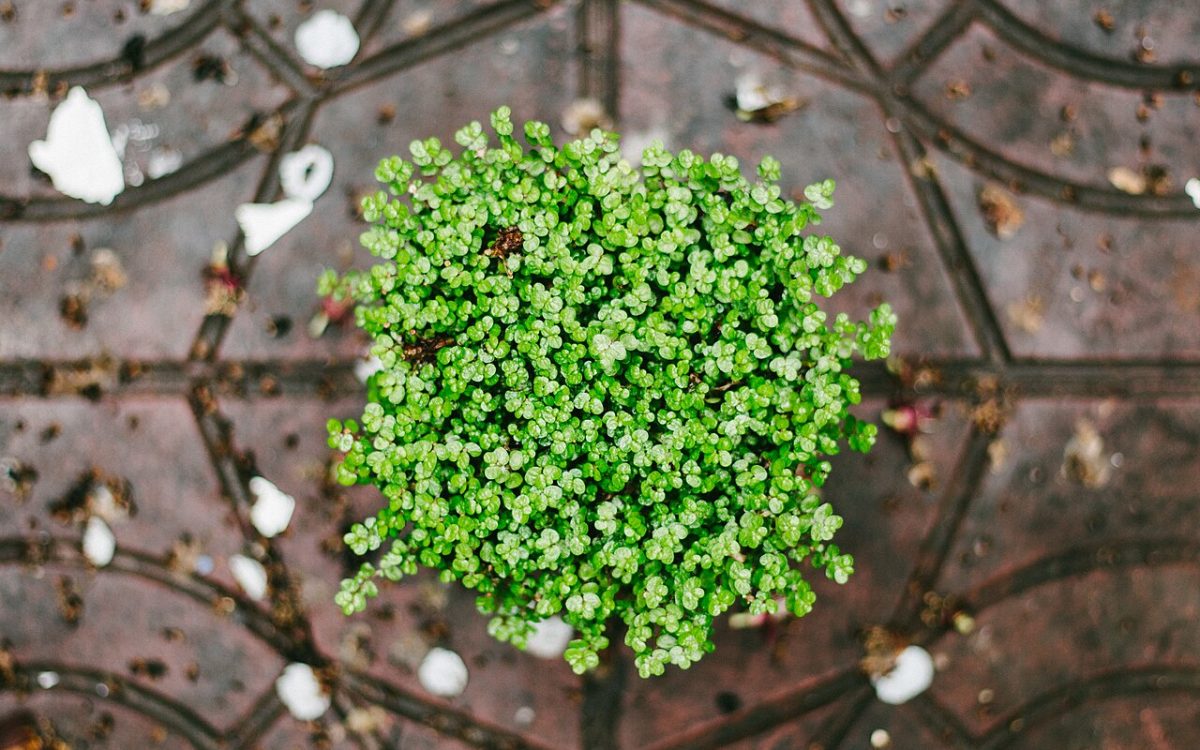
Old pavers often look beyond saving: dark with mildew, sunken in spots, with weeds and ant hills in every joint. In most cases a restoration brings them back for a fraction of the cost of new pavers. Here is what changes between the before and the after.
Before: the usual problems
- Black or green mildew and algae, especially in shade.
- Washed-out joint sand, with weeds and ants moving in.
- Faded, chalky color from sun and worn sealer.
- Oil, rust or leaf stains.
- Low spots where water sits after rain.
The steps of a restoration
- Cleaning. A surface cleaner removes dirt and growth without blasting the pavers. Stains get their own treatment.
- Re-leveling. Sunken areas are lifted, the base is fixed, and the pavers are reset.
- Re-sanding. Fresh joint sand, often polymeric sand, fills the gaps and locks the pavers together.
- Sealing. A natural or wet-look sealer brings back color and protects against stains and weeds.
After: how to judge the result
- Color is even across the whole area, with no streaks or stripes from the cleaner.
- Joints are full and firm, with no loose sand on top.
- The surface is clear, not cloudy or white. A milky look can mean the sealer went on wet.
- Water runs off instead of pooling.
Take your own before photos
Photograph the area from the same spots before work starts. It helps you see the difference, and it gives you a record if anything needs a touch-up. Pros on CSI Elite Services often share their own before and after photos on their profiles, so you can see their work before you hire.
0 إعجاب
التعليقات 0
لا توجد تعليقات بعد. كن أول من يعلّق.
سجّل الدخول للتعليق